
Expert Tips for DIY Aircraft Detailing: What You Can Do Between Professional Services


Introduction to Aircraft Detailing
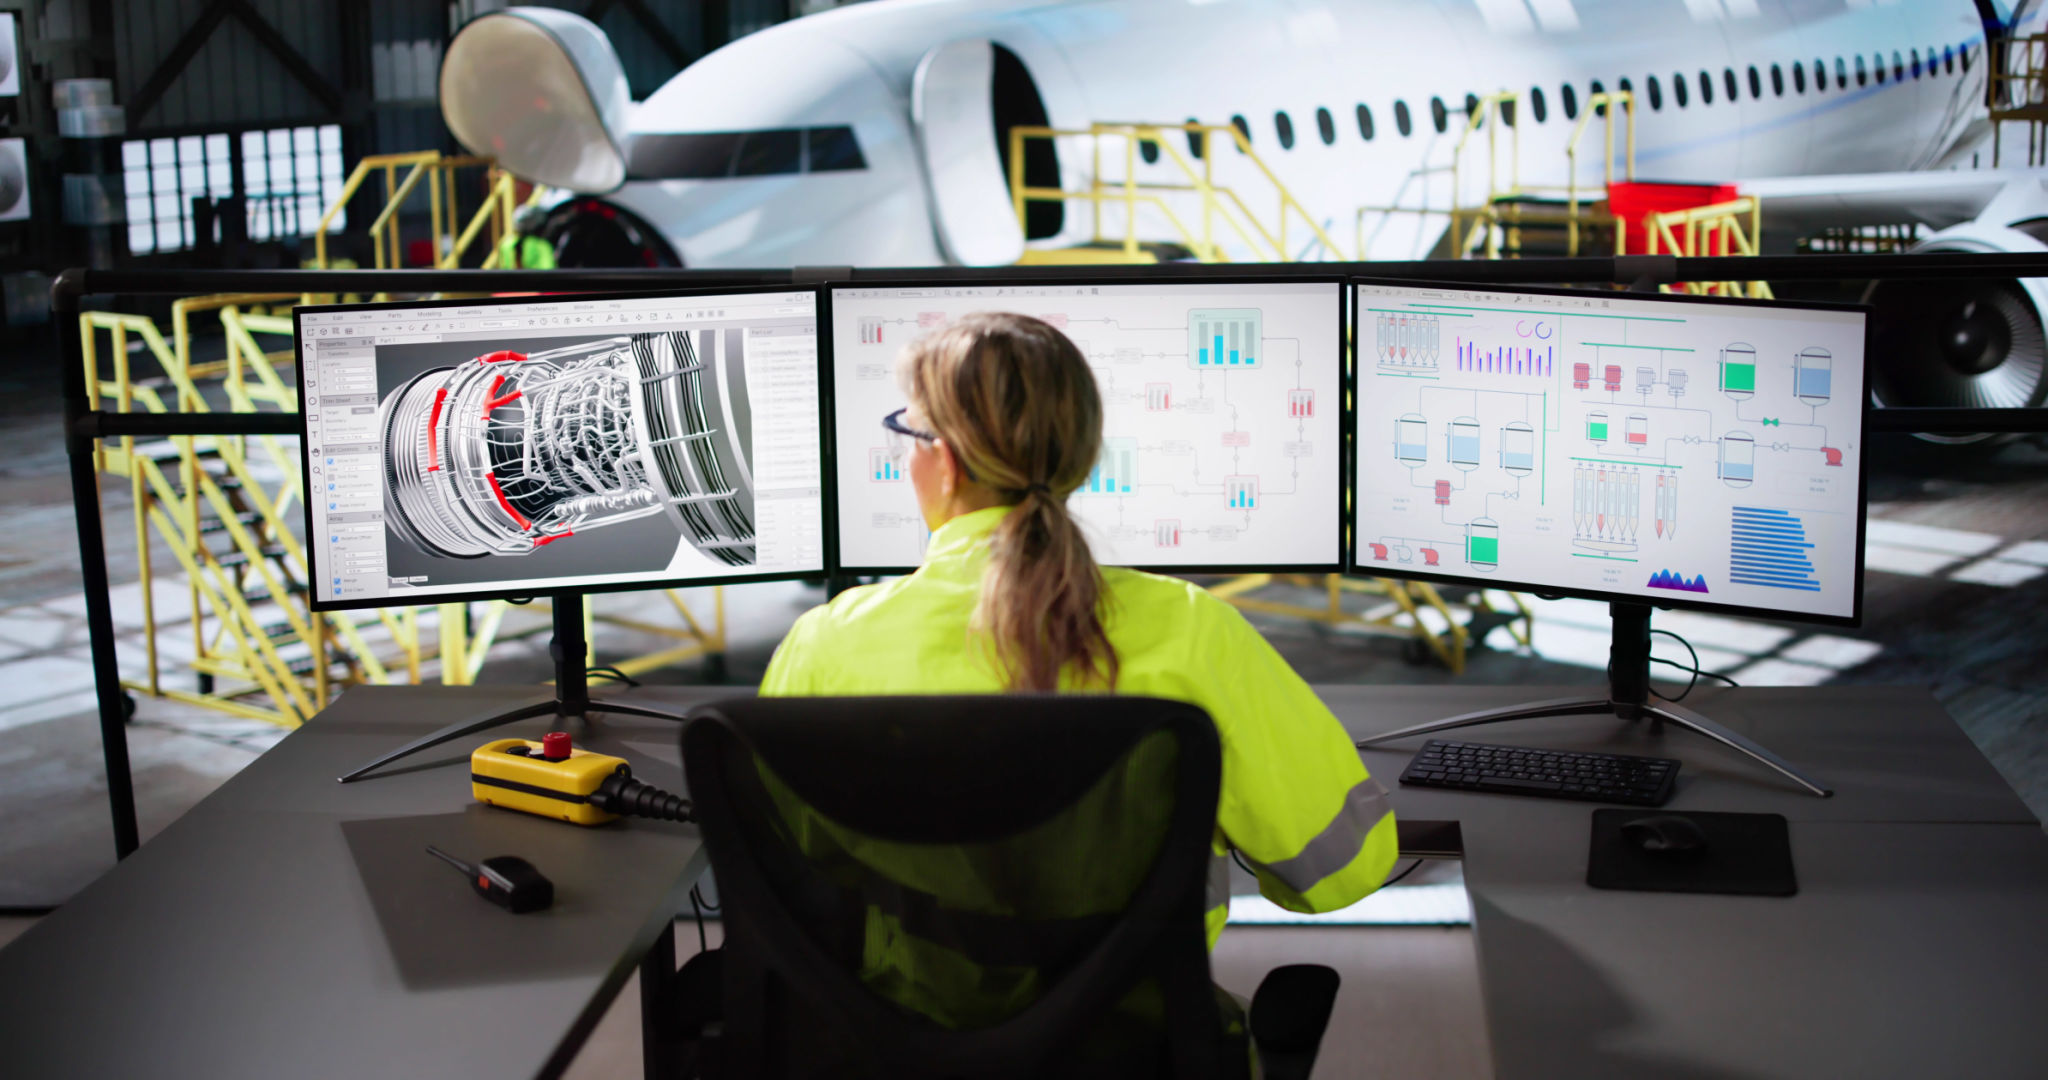
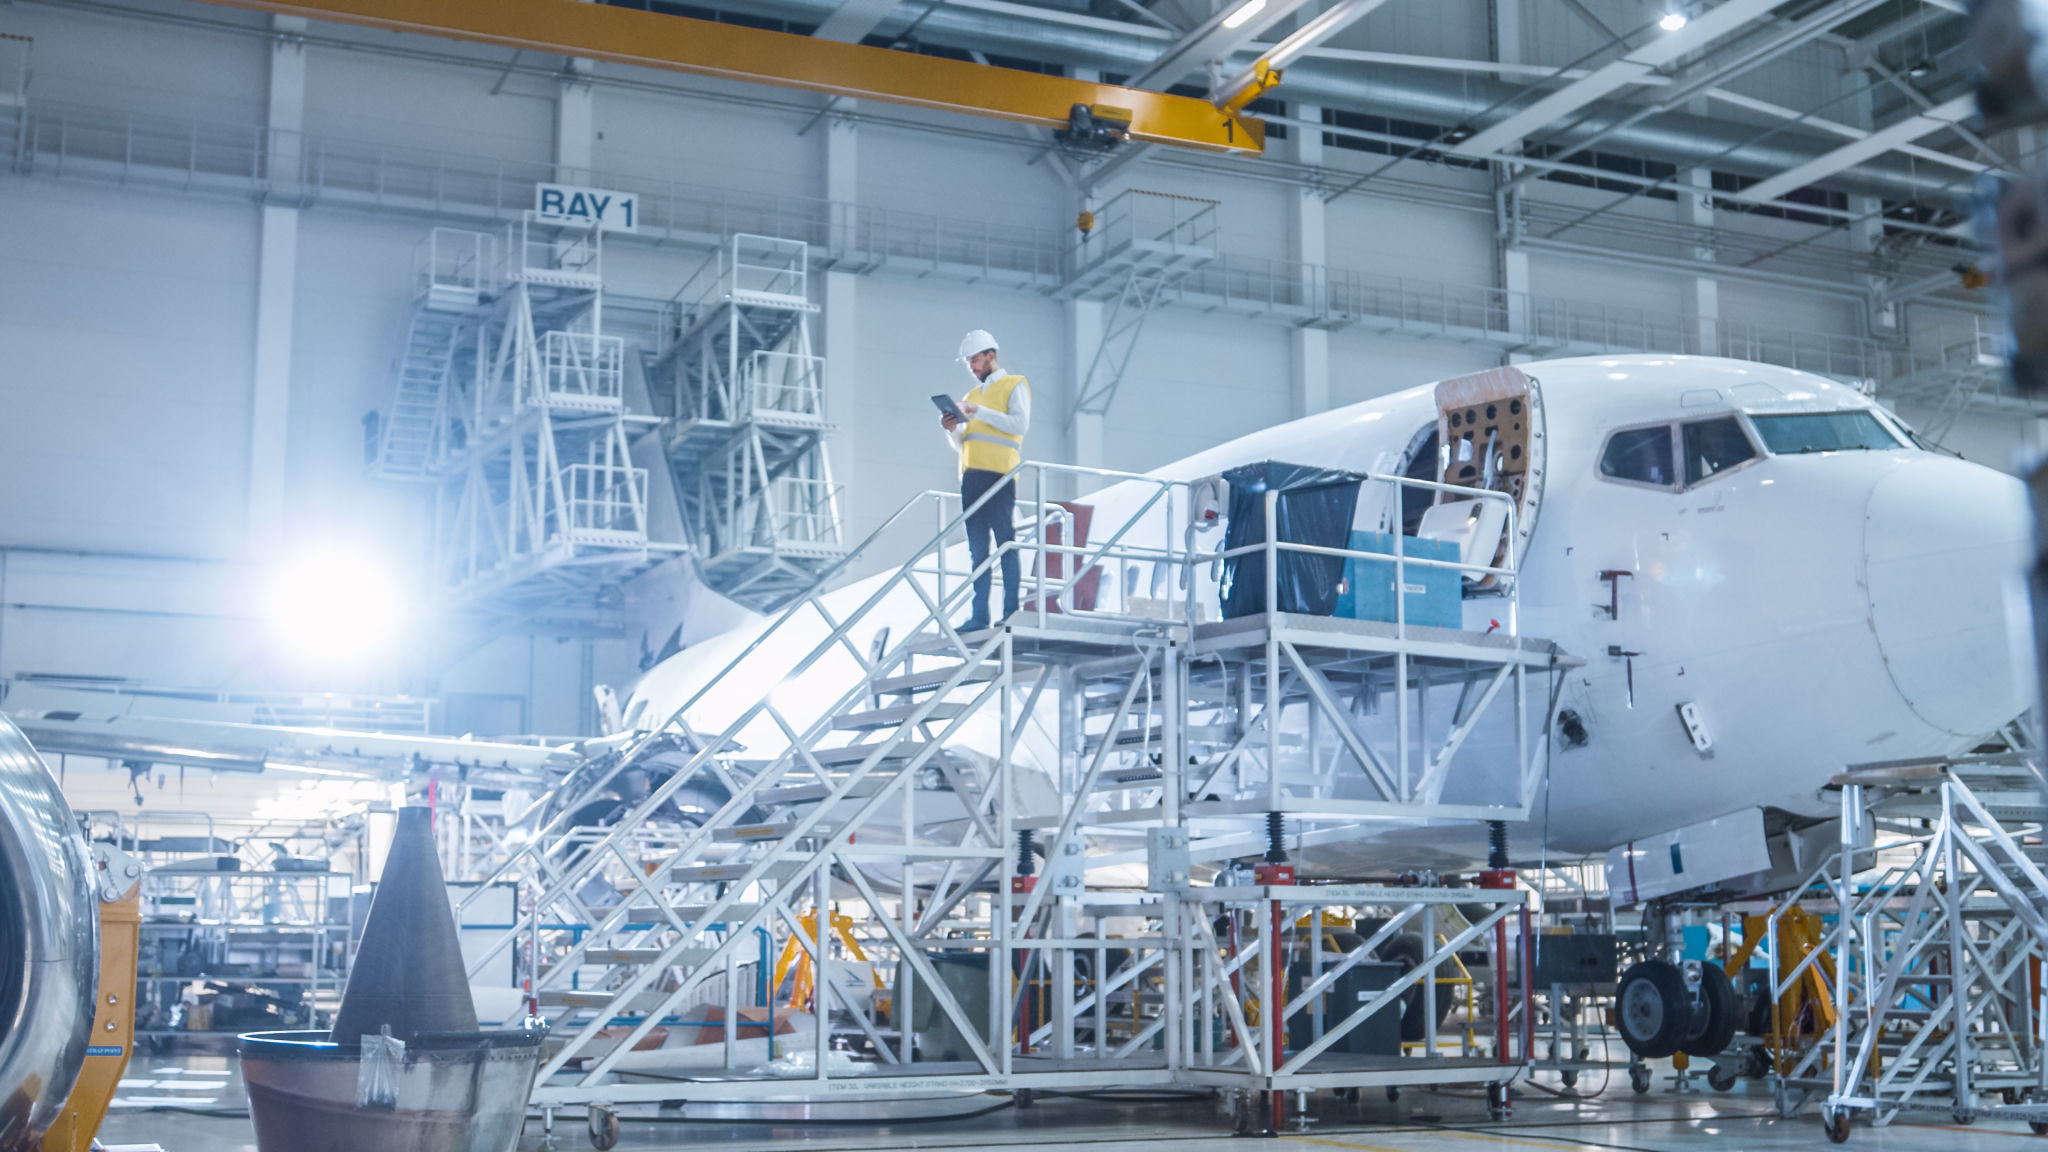
Keeping your aircraft in pristine condition requires regular attention and care. While professional detailing services are essential for maintaining the integrity and aesthetics of your aircraft, there are several tasks you can perform yourself between these services. By incorporating a few simple DIY detailing practices, you can extend the longevity of your aircraft's appearance and performance.
Essential Cleaning Supplies
Before diving into the cleaning process, it's important to gather the necessary supplies. Having the right tools will make your detailing efforts more effective and efficient. Here are some must-have items for your detailing kit:
- Microfiber towels for a scratch-free finish
- Specialized aviation cleaning products
- Soft-bristle brushes for delicate areas
- Protective gloves to safeguard your hands
Choosing the Right Cleaning Products
When it comes to aircraft detailing, using products specifically designed for aviation is crucial. These products are formulated to be safe on the materials used in aircraft construction and finishes. Always check for aviation-grade cleaners to ensure compatibility with your aircraft's surfaces. Avoid using harsh chemicals or household cleaning agents that could damage the finish.
Basic Exterior Cleaning
Regularly cleaning the exterior of your aircraft can prevent dirt and grime from accumulating, which can lead to more significant issues over time. Here’s a simple routine you can follow:
- Rinse: Start by rinsing off loose dirt and debris with water.
- Wash: Use a mild aviation soap and a soft sponge or cloth to gently wash the surfaces.
- Rinse Again: Make sure to thoroughly rinse off all soap residues.
- Dry: Use microfiber towels to dry the aircraft, preventing water spots.
Protecting Paint and Finishes
After cleaning, applying a protective wax or sealant can help maintain the shine and safeguard the paintwork from environmental elements. These products create a barrier against UV rays, moisture, and pollutants, extending the life of the aircraft's exterior finishes.
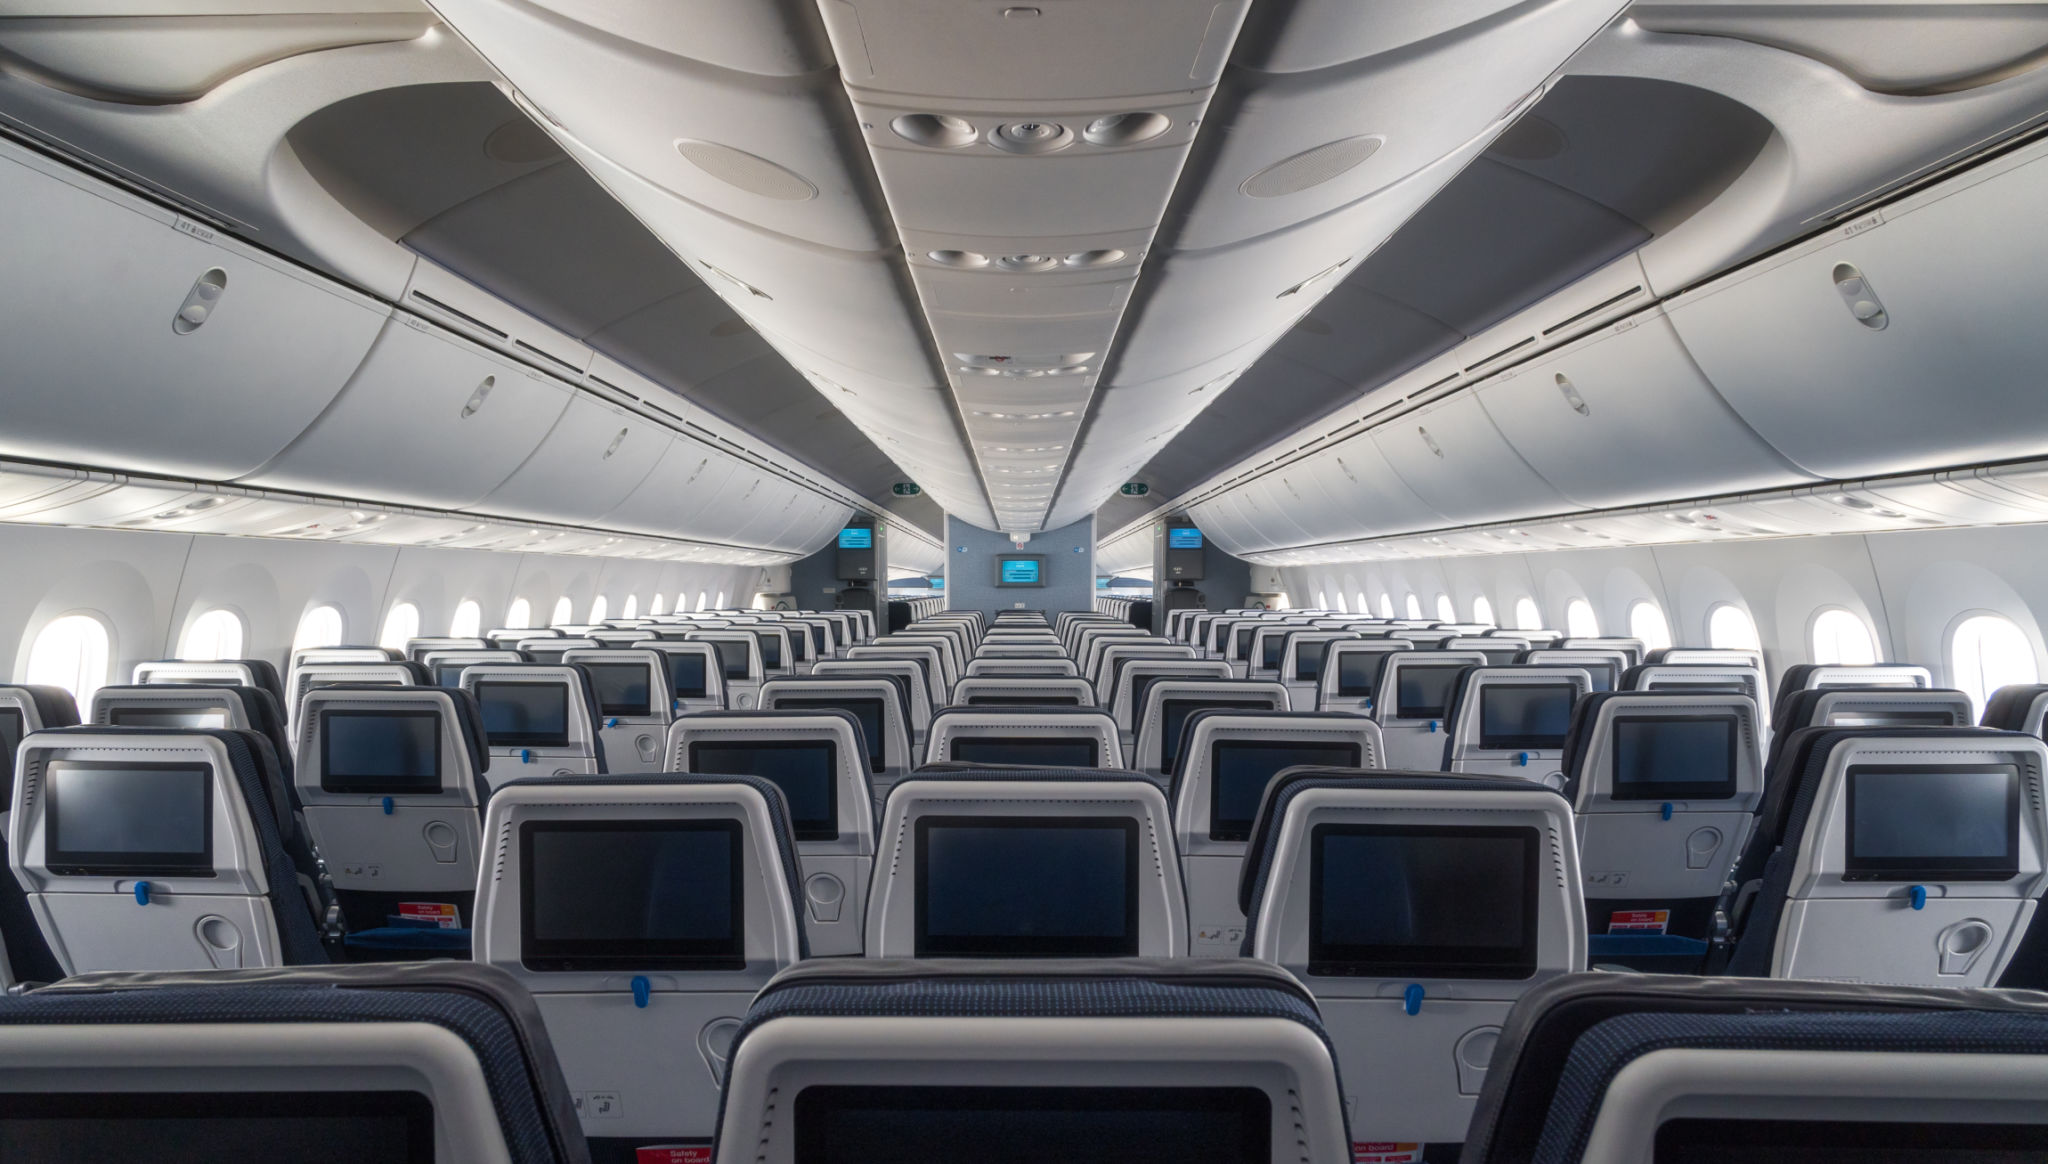
Interior Detailing Tips
The interior of your aircraft deserves just as much attention as the exterior. Regular vacuuming is essential to remove dust and debris from carpets and seats. Use a handheld vacuum with attachments to reach tight spaces. Additionally, wipe down all surfaces with a damp microfiber cloth to remove smudges and fingerprints.
Treating Leather and Upholstery
If your aircraft's interior features leather seating, it's important to condition it regularly to prevent cracking and fading. Use a leather conditioner designed specifically for aviation interiors to keep the material supple and looking new. For fabric upholstery, spot clean any stains promptly using a gentle fabric cleaner.
Maintaining Windows and Windshields
Clear visibility is crucial for safe flying, so keeping windows and windshields clean is essential. Use an aviation-approved glass cleaner that won’t leave streaks or damage the surfaces. Clean in circular motions with a soft cloth, ensuring you remove all residues for crystal-clear views.
Inspecting for Damage
While detailing, it's a good practice to inspect your aircraft for any signs of damage or wear. Look for scratches, dents, or corrosion that may require professional attention. Early detection can prevent more costly repairs down the line and ensure your aircraft remains in top condition.
Conclusion: The Benefits of Regular Maintenance
By incorporating these DIY detailing tips into your routine, you can maintain your aircraft's appearance and performance between professional services. Regular maintenance not only enhances the aesthetic appeal but also contributes to the overall safety and longevity of your aircraft. Remember, a well-maintained aircraft reflects pride in ownership and ensures dependable operation every time you take to the skies.